So today in between students, I decided to check out an op shop that had recently had some renovations. I thought, I won't get anything...I'll just have a peep hehe!
I'm so grateful I did because I found this little gem!
I had actually tried this dress on in Forever New earlier in the year. The price was well over $100. Today I feel blessed that I only paid $15! Nothing is wrong with it either. I couldn't believe it! It fit me perfectly. Not too big and not too small.
I think I just smiled to myself for 10mins in the change rooms haha!
Can't wait to take this baby out for a spin. Thankyou Lord!
X
Showing posts with label blue. Show all posts
Wednesday, 16 October 2013
Sunday, 13 October 2013
DIY Banner
Here is a simple banner which I crafted up this afternoon. It's easy and I know I'll use it at any chance I can get. You could make any greeting with this too!
Here are the 10 easy steps:
1. Take a stack of scrapbooking card and choose which colors you want to use.
2. Lay out your order of colors/patterns.
3. Measure up and cut out squares. The card stock I used was 12" x12", so I made 4 squares measuring 6" x 6".
4. As well as this, using white card cut out smaller squares. I made squares measuring 4" x 4".
5. Go ahead and pencil on a font of your choice onto the white card.
6. Take a marker and thin pen to fill in your font. I used the thin Sharpie pen to out line and then filled the letters in with the marker.
7. Hot glue the two cards together.
8. I then sewed around the edge of the white card. I did this for strength and also for looks.
9. Next, take a ribbon of your choice (I used a ribbed white) and sew on the back of the cards. Making sure to leave a space between each letter.
10. You can make any greeting using these instructions.
2. Lay out your order of colors/patterns.
3. Measure up and cut out squares. The card stock I used was 12" x12", so I made 4 squares measuring 6" x 6".
4. As well as this, using white card cut out smaller squares. I made squares measuring 4" x 4".
5. Go ahead and pencil on a font of your choice onto the white card.
6. Take a marker and thin pen to fill in your font. I used the thin Sharpie pen to out line and then filled the letters in with the marker.
7. Hot glue the two cards together.
8. I then sewed around the edge of the white card. I did this for strength and also for looks.
9. Next, take a ribbon of your choice (I used a ribbed white) and sew on the back of the cards. Making sure to leave a space between each letter.
10. You can make any greeting using these instructions.
Saturday, 12 October 2013
A Shower for Baby Buffa
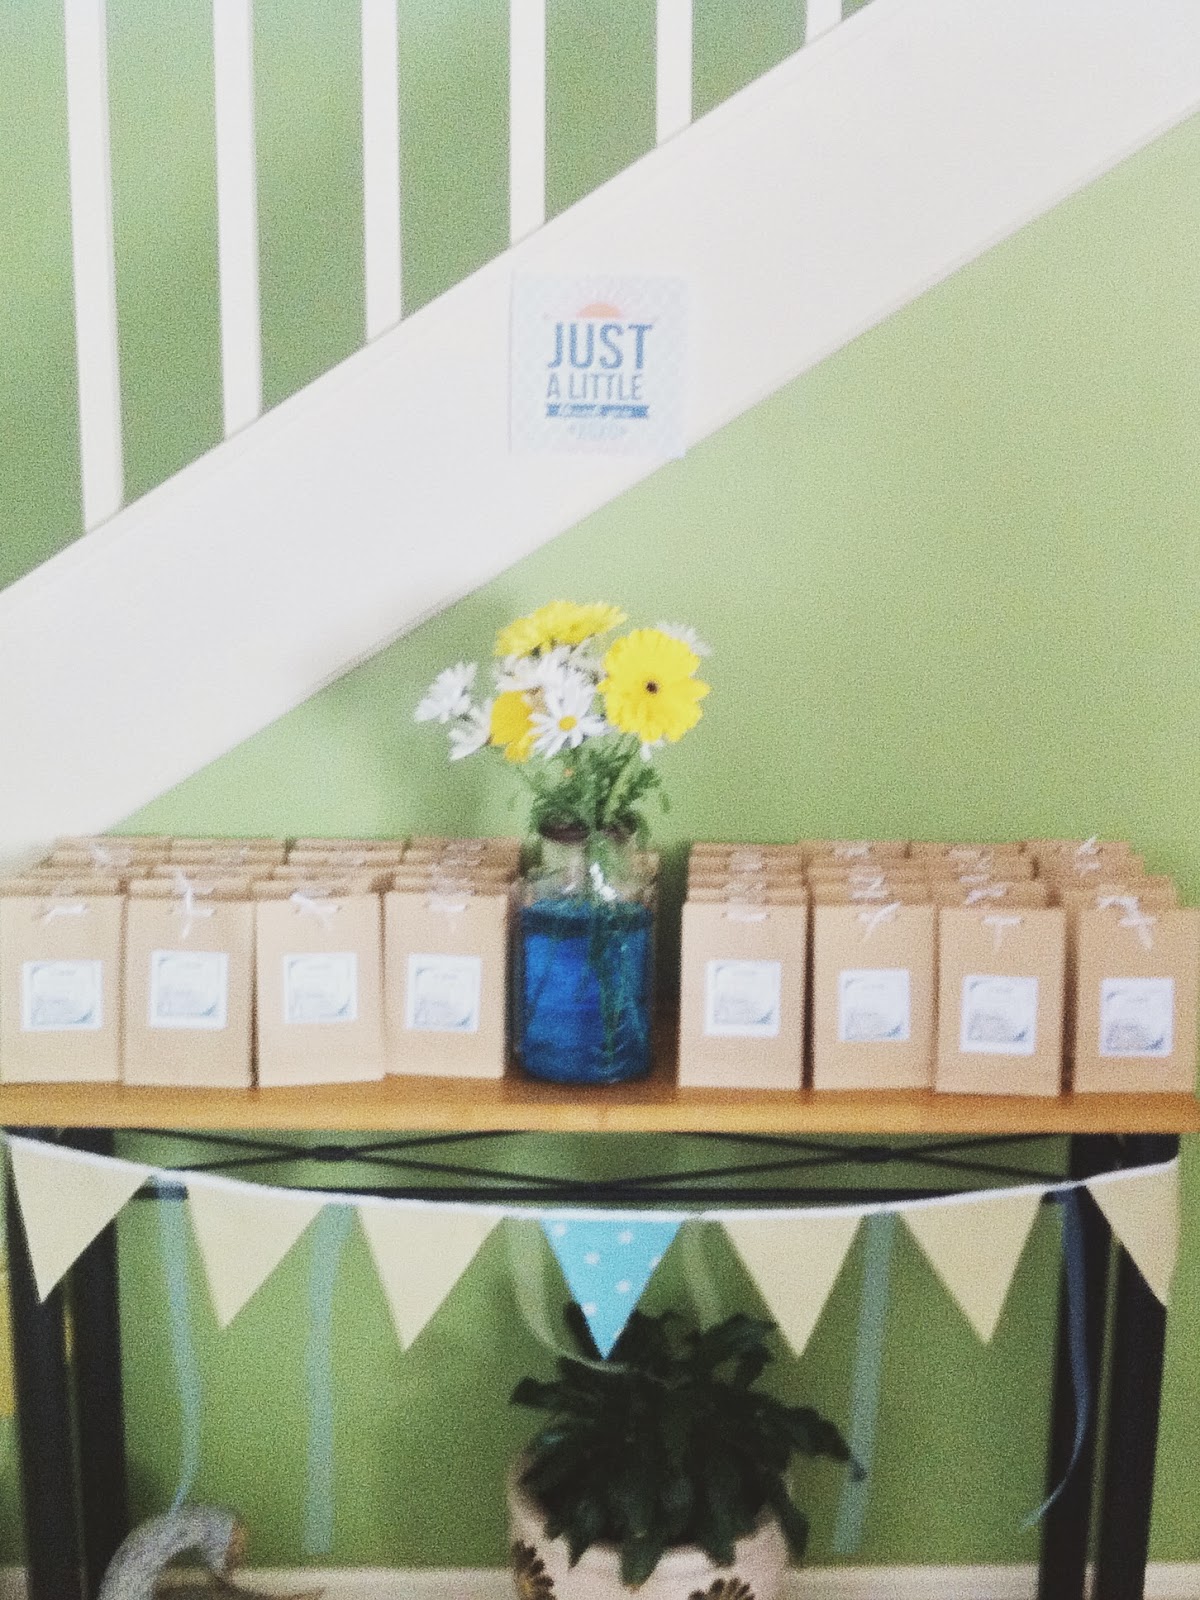
Well, yesterday's festivities went down like a treat! There's something so fulfilling when you take months to prepare, create and craft up something and watch it unfold and blossom in a matter of 3 hours. I love hosting, always have. I love preparing and being organised. And I love socialising and making people feel happy, served, and at home. I'm lucky to have a mother and sister in law who feel the same, and together - I must say - we make one good team! We celebrated Jessica's impending baby arrival with 50 plus guests. A yellow and blue themed afternoon tea with sweets and fancy sandwiches, orange punch and of course, tea. Cake Glorious Cake made the sweetest Peter Rabbit cake you ever did see. This was such a great day celebrating a woman who undoubtably has a natural instinct for motherhood, who is loved by so many, who makes you smile and feel like you're in a sunshine bubble, who is kind hearted, selfless and exudes natural beauty on the inside and out.
I'm sure the many we celebrated with today agrees and can't wait to meet little baby Buffa.
Love you Jessy X
Check out the fun we all had below:)
Labels:
afternoon tea,
baby,
baby shower,
blue,
bon appetit,
bunny,
bunting,
cake,
flowers,
girls,
peter rabbit,
pompoms,
rabbit,
scones,
social,
tea,
teacup,
yellow
Subscribe to:
Posts (Atom)